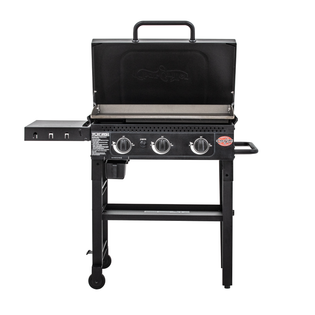
 Flat Iron® Portable 17-inch Gas Griddle
 Flat Iron® Premium Gas Griddle
 Flat Iron® Gas Griddle with Lid

 Sauced and No Sauce Spare Ribs
 Pulled Pork n' Bacon Cheesy Sliders
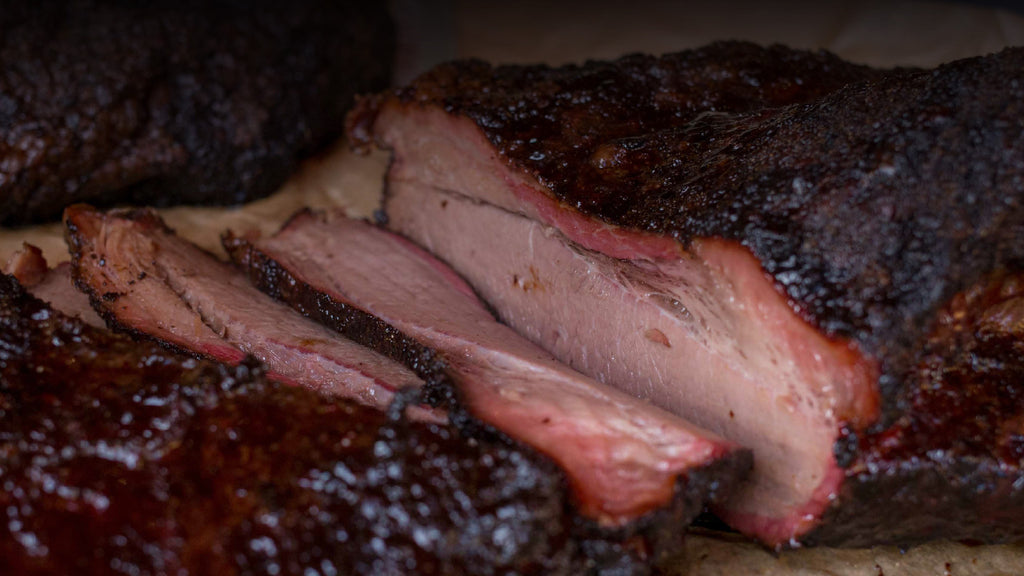
 Smoked Pulled Leg of Lamb

How to Calibrate Your Grill Thermometer
Every so often, when you fire up the grill you might notice that there is just no way your thermometer reading can be accurate. Don’t worry, this doesn’t mean that it’s broken and you have to get a replacement. It usually just indicates that the thermometer needs to be recalibrated.
In this blog post, we’re going to walk you through the fast and easy way to recalibrate your grill thermometer.
Even a thermometer that is off by five degrees can mean easily over or underdone meat. You need to be confident in your thermometer’s reading so calibration is key.
Why You Need a Properly Calibrated Thermometer
- So you can cook your meat properly. Nothing worse than overdone steak or underdone pork shoulder.
- To ensure consistency in your cook. Your thermometer lets you know if you are on track with keeping your grill at temp, helping you more accurately follow recipes.
- It keeps you safe. You have to make sure that your meat is cooked thoroughly to kill any bacteria. An out of wack thermometer can put you at risk for underdone food.
Analog thermometers can lose their calibration over time. Think of it like changing your car’s oil or cleaning out the lint in your dryer. It’s essential maintenance that helps everything work better.
One of the main reasons thermometers can get knocked out of calibration? Frequently going from hot to cold. For a grill thermometer, this is just a day in the life.
If you just bought a new grill, make sure to check the calibration to ensure that it is within +/- 2 degrees Fahrenheit. Regular calibration is key to getting the best cook.
What Does Calibrating a Thermometer Mean
Calibrating means making a precise measurement. Basically, think of it as fine tuning your thermometer. Because it’s a sensitive measuring device, you want to ensure that your thermometer is working properly so you can start with good data.
Calibrating ensures that you are getting the right temperature for your cooking environment, in this case: your pit temperature. Accuracy here is extremely important so you know how to adjust your fuel and dampers for the optimal cook.


Two Ways to Calibrate Your Thermometer
There are two super basic and easy ways to calibrate your thermometer.
- The Ice Bath Method
- The Boiling Water Method
Some people like using their oven, but the temperature in ovens can vary so greatly that we recommend using the two methods above for the most consistent results.
How to Calibrate a Thermometer with the Ice Bath Method
Fill a glass with ice and just enough cold water to fill the space between the ice. Stir the ice and water for 30 seconds to stabilize the water just at the freezing point of 32 degrees.
Place the tip of the thermometer in the ice water and the reading should stay right at 32 degrees. If it isn’t you can adjust the thermometer using techniques outlined below.
How to Calibrate a Thermometer with The Boiling Water Method
For this method, place your thermometer tip in boiling water. It should read 212 degrees. Note if you are using a gas stove: do NOT let the flame touch the upper part of the thermometer or probe.
Make sure that water is boiling and not simmering and adjust for boiling point if you are at a higher or lower altitude.
How to Adjust a Thermometer that Isn’t Calibrated Correctly
The thermometer that comes with your Char-Griller grill cannot be calibrated manually, but it is a good idea to use either the ice water or the boiling water method to check your thermometer's calibration.
This will help you know if your thermometer is off and exactly how much it is off so you can adjust accordingly during your cook.
Most after-market thermometers can be calibrated very easily. If you replaced the original Char-Griller thermometer with a new thermometer, follow the instructions below to calibrate it.
1. Once you’ve removed your thermometer and choose which method to calibrate with, if you notice that your thermometer is off, turn the thermometer over and use the little screw on the back to adjust the needle.
2. Make small adjustments and keep placing the thermometer back in the water to see if the needle holds at either the boiling or freezing point. Once the needle reads at the right point, remove from the water and attach back on your grill.
In conclusion, calibrating your grill thermometer is a simple yet essential step to ensure your outdoor cooking adventures are a success. By taking the time to verify its accuracy, you'll be able to cook your favorite meals to perfection, achieving those delicious, mouthwatering results every time. Whether you're a seasoned grillmaster or a backyard barbecue enthusiast, a properly calibrated thermometer is your key to culinary excellence. So, don't hesitate to follow the steps outlined in this guide and get ready to savor the flavors of perfectly grilled dishes all summer long. Happy grilling!